Metafields in Shopify Without Using an App
I've learned of a technique which allows you to edit metafields directly in the Shopify bulk editor so that you don't have to purchase another app like you normally would.
Today we're going to learn:
How to view and edit Metafields in Shopify Without Using an App.
I’ll begin by breaking down the URL we’re going to use.
https://sunbowl-4.myshopify.com/admin/bulk?resource_name=Product&edit=metafields.global.shipping,metafields.global.keyword_tag
- https://sunbowl-4.myshopify.com is the link to your store
- /admin - allows us to work in the admin section
- /bulk - is a bulk editor, so we can edit many fields on one page
- ? - tells the browser it needs to pull some variables
- resource_name=Collection - tells the browser we want to work with Shopify’s Products
- & - second variable
- edit=metafields - we want to work with metafields
- global - means it applies to the entire website
- .shipping is the first metafield we want to create/edit
- , separates metafields
- global - means it applies to the entire website
- .keyword_tag is the second metafield we want to create/edit
If I copy and paste this link into the browser, it will bring me to a page that displays all the products with our two metafield columns: “Shipping” and “Keyword Tag”.

If we want to add two-day free shipping to multiple items, we can copy and paste them down the column and it will update all the metafields.

To modify Metafields on other pages within Shopify, we’ll need to modify the URL.
Note: Shopify allows you to update metafields for Product, Collection, Blog, Article, and Pages.
We’ll need to update the resource_name to collection and add the variable edit to tell Shopify we want to edit the metafields.
https://sunbowl-4.myshopify.com/admin/bulk?resource_name=Collection&edit=metafields.global.field
New metafields can be created by adding the name of the field we want to name after metafields.global.[Metafield Name]
In our example, we’re going to create a metaifield called “field”.
Copy this URL and paste it into our browser to and create that metafield and take us to the Bulk editor.

Okay, so now that I've gone and set the metafield and I now know how to edit them, we can now use my other tutorial to display the content. .
In the Shopify menu, goto Online Store > Themes > Actions > Edit Code and select collection.liquid. Here we’ll add a little snippet of code to display the metafield we just set up for the collections page.

{% section ‘collection’ %}
MetaFields = {{ collection.metafields.global.field }}
Click Save.
To check our work we’ll go over to the collection we set up. Scroll to the bottom and we see the metafield we’ve configured.
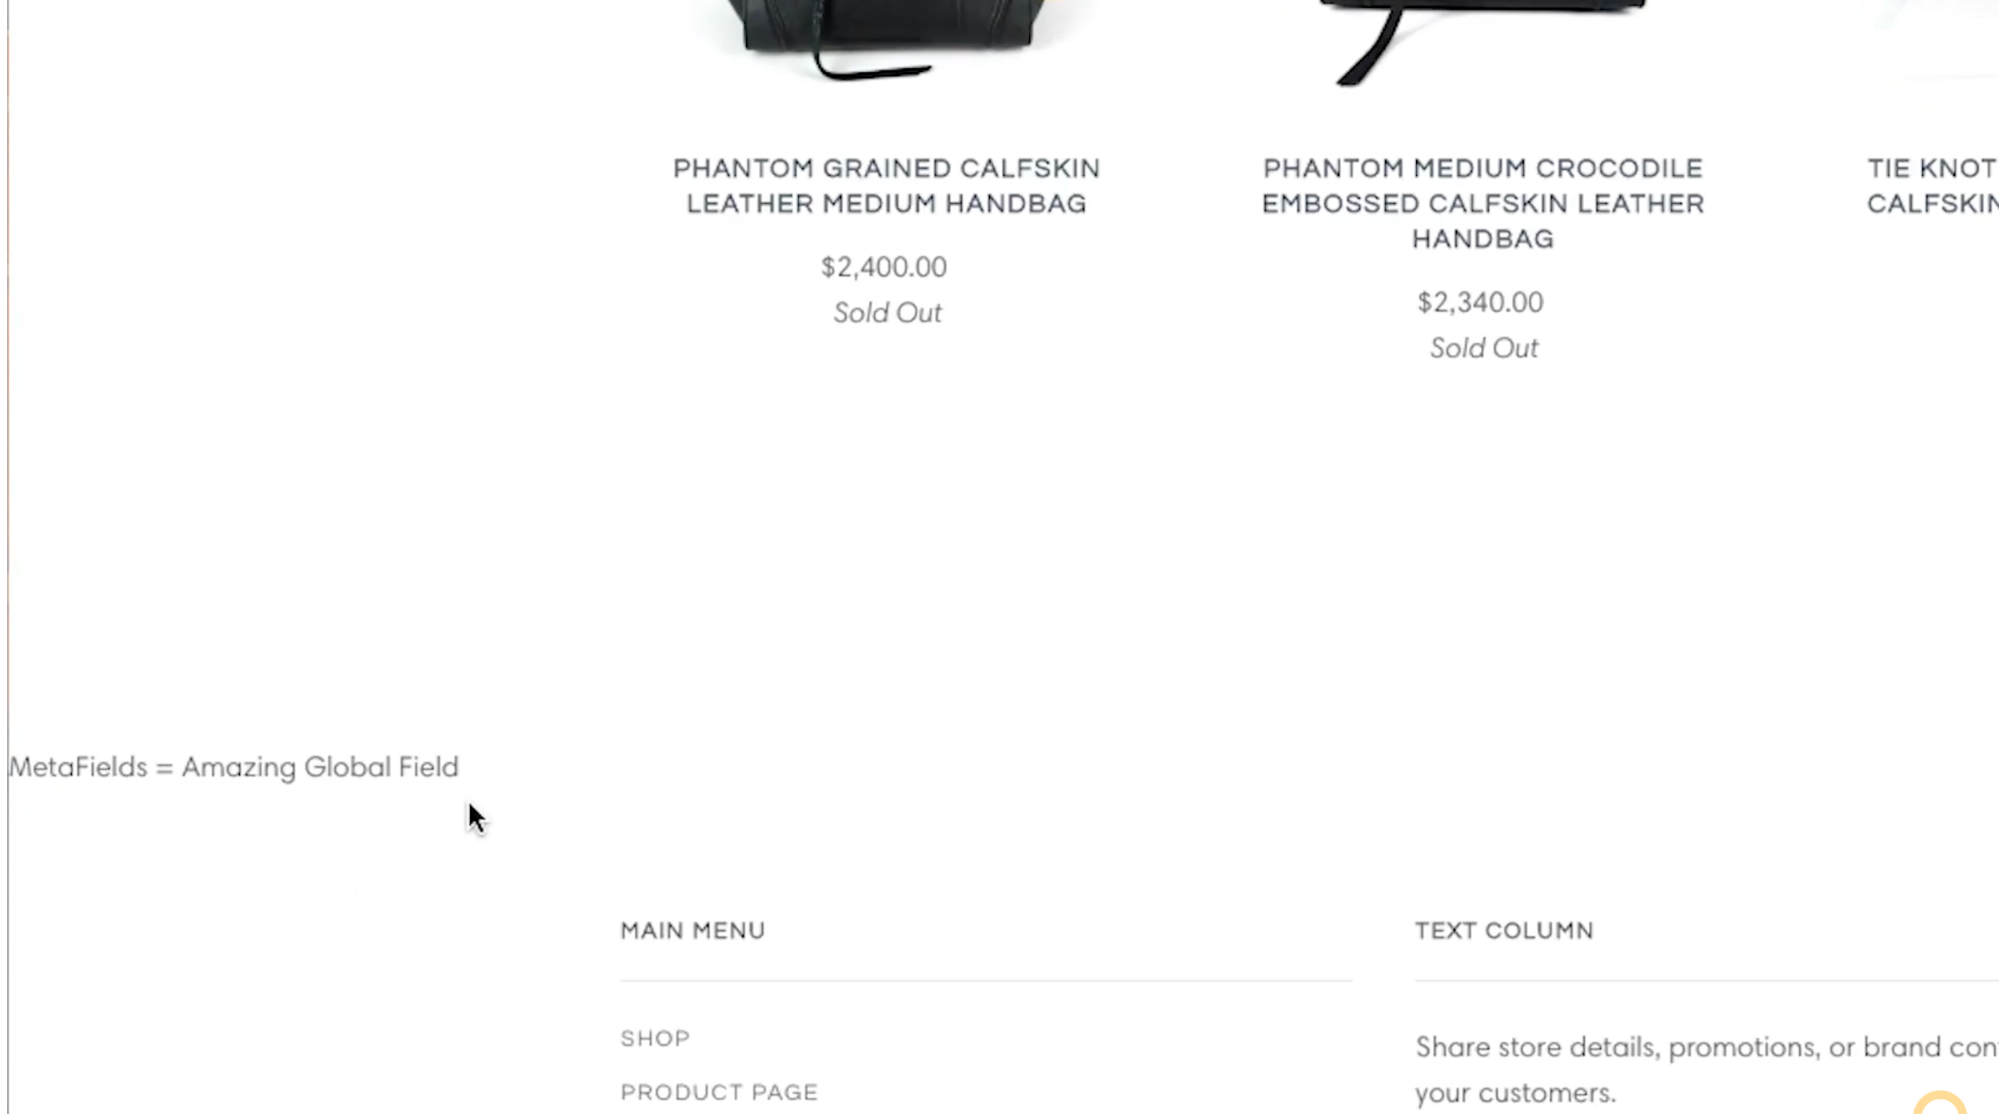
Note: This metafield was quickly added. In a real world scenario we would use CSS to customize how it looks and make sure it sits nicely within our website.
So, super, super useful. It allows us to make modifications inside Shopify using the URL and the bulk editor tool to add, manipulate, and very quickly add and very quickly change all of the metafields inside Shopify, without needing to buy an app, with a relatively good user experience.