How to Set Up a Blog in Shopify
A blog is an excellent addition to any online shop. It allows us to share information with the public, tackle frequently asked questions, share experiences, and even generate SEO content.
Today we're going to learn:
How to set up a blog and create a blog post in Shopify.
How to Set Up a Blog:
From the dashboard, we click on 'Online Store' on our left menu, then on 'Blog posts' from the dropdown menu that appears.

Shopify auto-creates a blog called ‘News”, but if we want to rename it, we need to create an initial blog post from this screen.
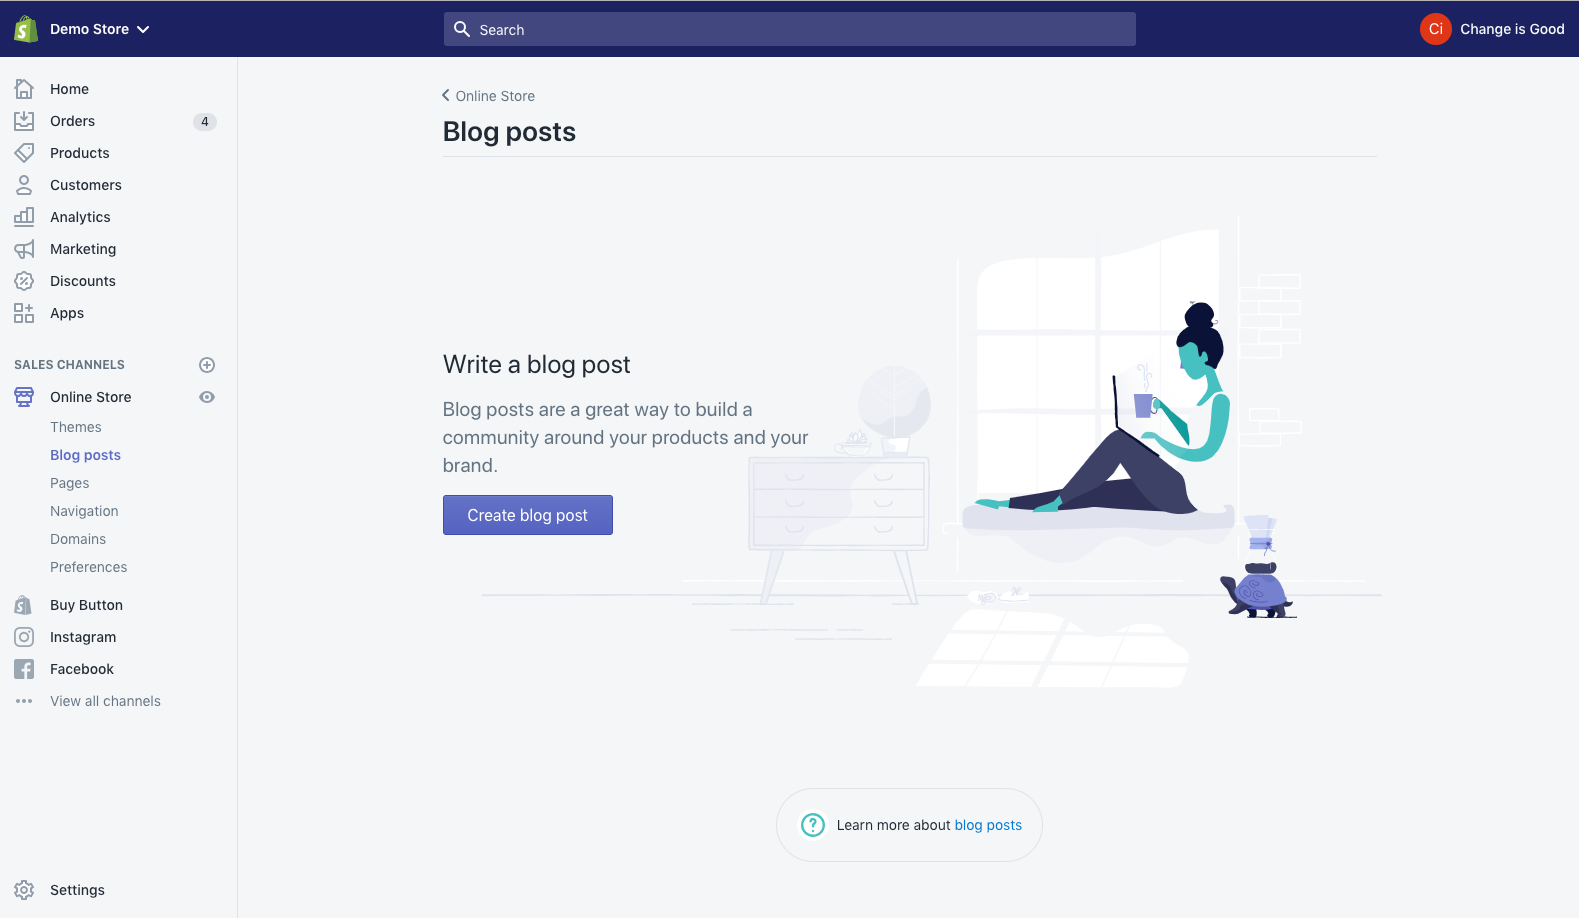
Feel free name it ‘Test’ and put some dummy content in because we just require any blog post to move on with creating our actual blog.
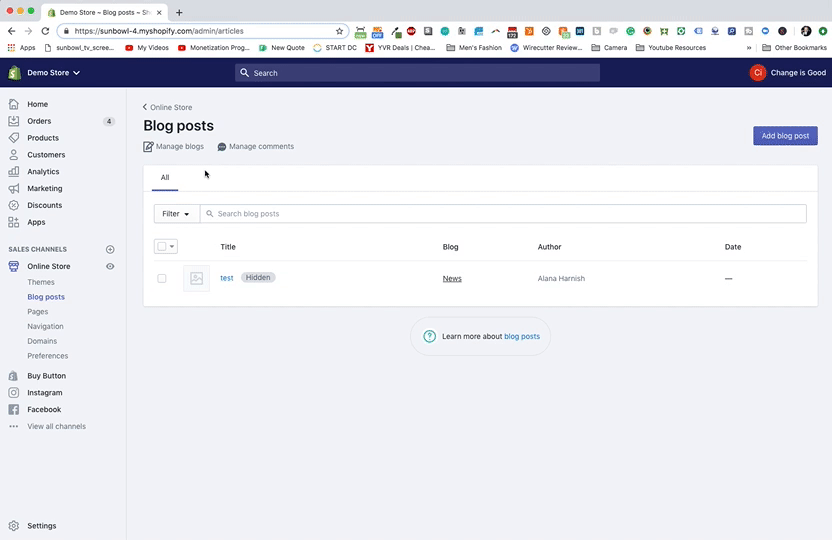
After we create our test blog post, the home screen will change to give us some more options. If you would like to rename the News blog, you can do that by clicking on 'Manage Blogs’ and clicking on the title, which brings up ‘Blog details.’
For my example, I’m going to leave it as ‘News’ and then add another blog, so that I may cover multiple topics on my site.
To add another blog, we click on the ‘Add blog’ button on the top right-hand corner of the ‘Manage Blog’ page.

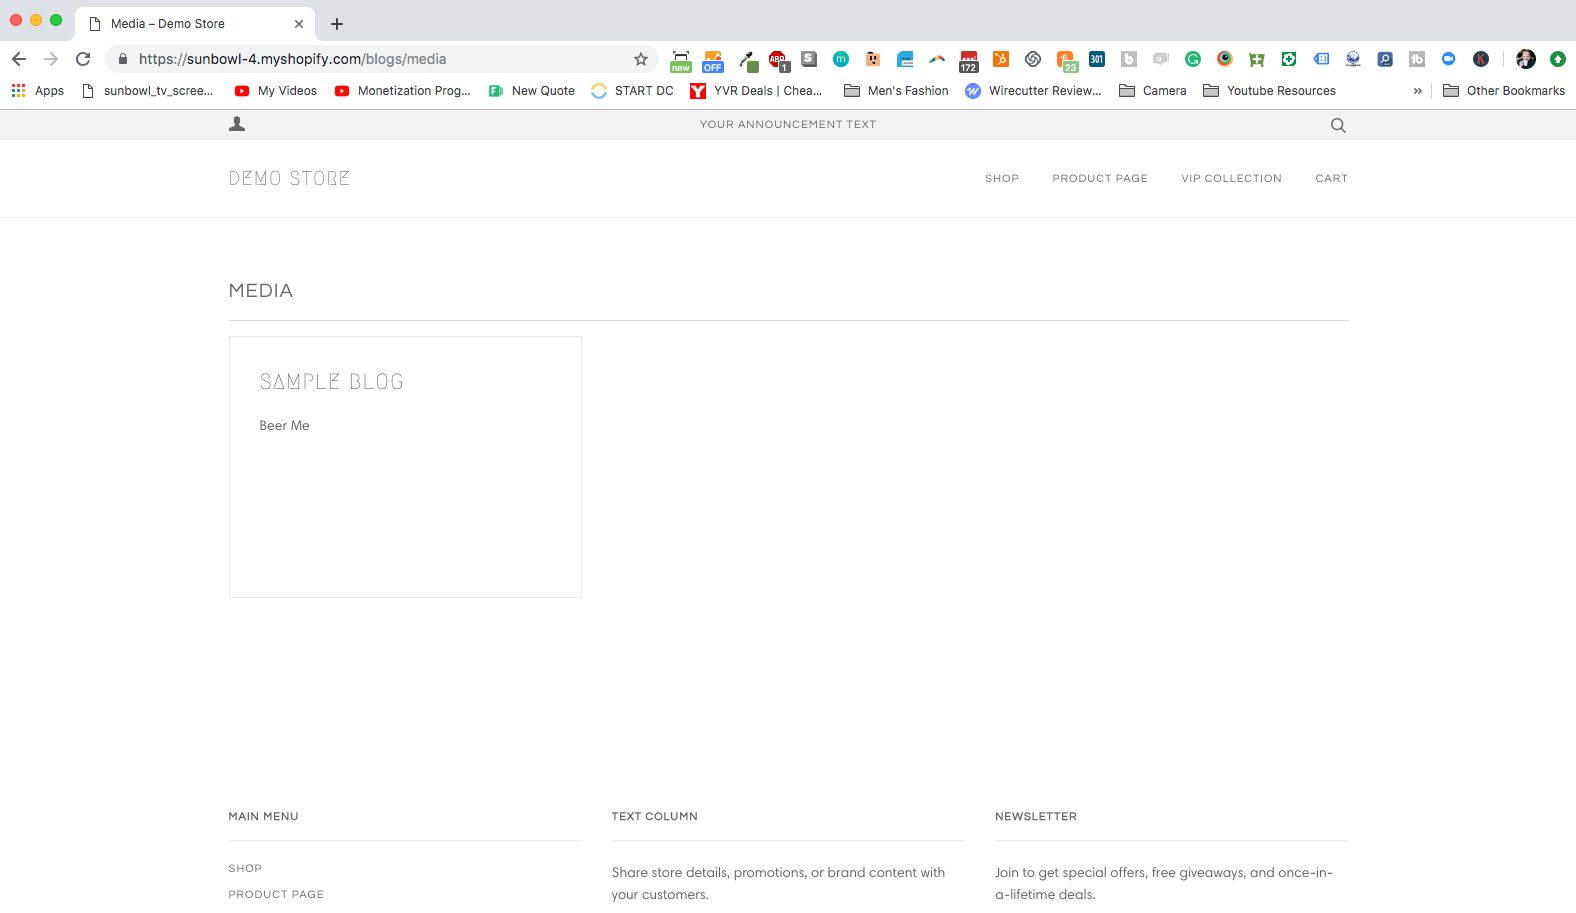
From here we start adding in the details of our blog. For my example, I’m going to call my new blog ‘Media’ and under ‘Feedburner URL’ select ‘None’ as Google no longer offers this feature.

Next, we head down to 'Search Engine Listing Preview,’ click on ‘Edit Website SEO’ and add a page title.
Note: Whatever you type as your page title is automatically going to be your URL handle. If you want to increase your SEO, which I highly recommend, try to use specific keywords in this URL handle so that it shows up on your listings when they show up inside Google. To learn more check out my blog post on SEO.

Then we add a Meta description to describe what the blog is about. For my example, I’m writing 'Media articles that have been posted about Sunbowl.'

Next, we set our comments. In Shopify blog comments are tied to the whole blog, not just the post, so we’re going to set them up now as our last step in creating our blog.
On the right-hand side of the screen, there is a box titled ‘Comments’ where we make our selection.
Note: When you're starting, and you have the time and bandwidth to moderate your comments, I usually recommend selecting 'comments are allowed, pending moderation.' However, once your blog gets super successful, and you're unable to moderate all the comments, I suggest you switch to 'comments are allowed and are automatically published.'

Finally, we click on ‘Save’ to save our new blog!
Creating a Blog Post:
After the blog is saved a big green window pops up to alert us that the new blog has been created and offers a link to create a new blog post. Let’s create our first REAL post! (The test post can be deleted later)

Creating a blog post is very similar to creating a page inside Shopify.
One difference with a blog post versus a regular page within Shopify is that there is an additional description window to add an excerpt, which is a summary of the post that is going to appear on the home or blog page. If the excerpt is not filled out, then most of the theme templates will take some text from the blog post content.
For my example, I’m going to fill the ‘Content’ box with some fun Hipster Ipsum text, and we’re going to see what the post looks like without filling in anything in the ‘Excerpt’ area.

To view the post, we save it and then click on the eye icon to see what the post looks like in real life.


Now lets next add some text to the ‘Excerpt’ box.’ This will display on the blog overview page when we eventually publish the blog.

While it isn’t necessary to add an excerpt to our blog posts, it does allow us to be more specific about what we’re sharing in the post, which helps our viewers in finding the post they want to read.
Next up is adding images.
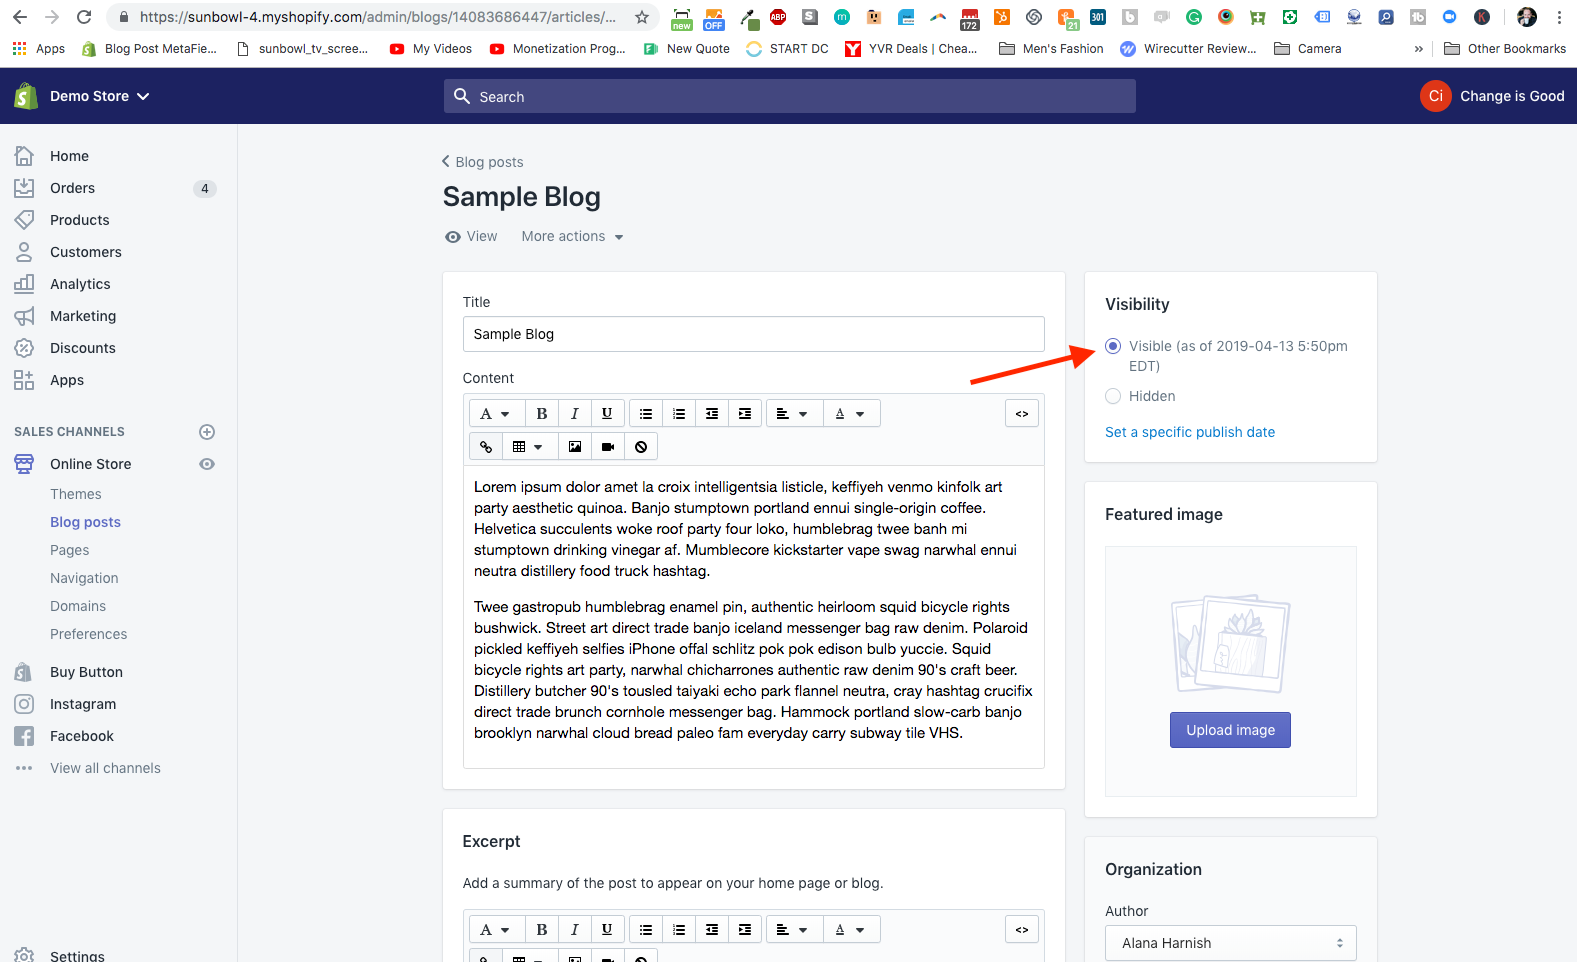
On the right-hand bar of the screen, there is a box titled ‘Featured image.’
The image uploaded here will be the background image on the blog page for that particular post and is also the background image on the top of the blog post itself so choose your image with this in mind.


Note: If you don’t like how Shopify does it this can usually be modified with a little bit of liquid coding. If you don't know liquid coding, don't worry we do and we would be happy to help :)
One of the last items in creating our blog post is 'Organization,' located on the right-hand bar of the screen, which is where we select the author and the blog that the post belongs within.

Just as with pages and products, we can tag individual posts so that they can be organized further. I will cover tags in greater depth this in another lesson.

When we’re ready to publish the post to the public, we need to change it from ‘Hidden’ to ‘Visible’ on the top right-hand corner.
Then we hit ‘save,’ and we have completed our new blog post in a new blog!
That's it!
To receive updates, drop your email in the form below. Each time we post a new blog, or you can click the subscribe button to follow us on Youtube.